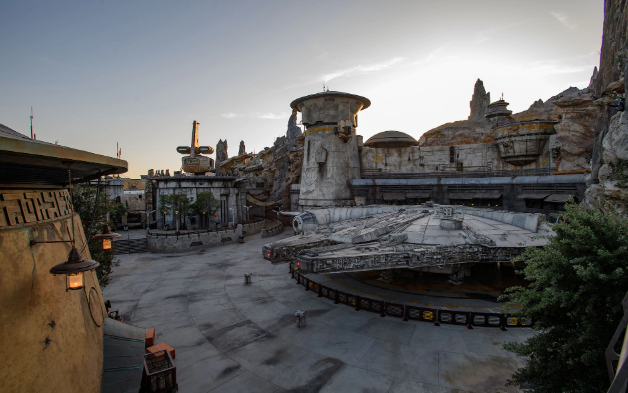
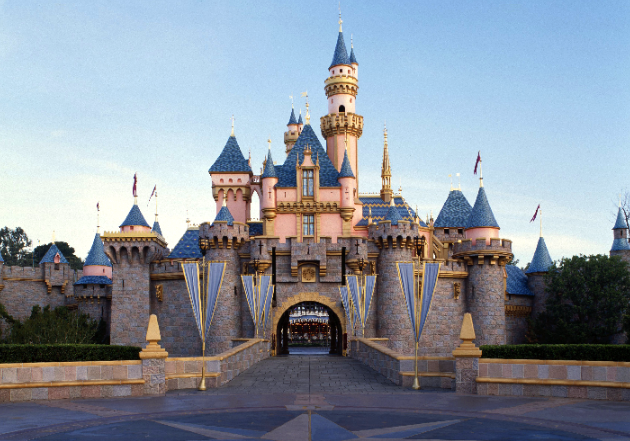
We are so excited to be able to review Galaxy’s Edge at Disneyland at the end of June! June 24th is the first day without reservations, and after seeing it with reservations on the 23rd, we’ll walk you through the process of how to enter without reservations on June 24th, without reservations. We’ll answer how the DAS pass fits in to everything, and where to find some quiet spots for a Sensory Break. Now’s the time to leave specific questions below so we can find all the answers for you! What do you want to know?
Airport Accessibility
So many ways to travel – Fabulous Road Trips, magical train rides and of course, Air Travel. For me, just going to the Airport is a huge mix of excitement and Anxiety. Excitement that I get to leave behind the drudgery of laundry and washing the dishes, and anxiety about getting to where we want to go, if I have forgotten anything, and how I’ll make my kids comfortable during the trip. All US airports have mobility accessibility by law, and many are working on services for those with vision or hearing difficulties. More rare yet is accessibilty for those with multiple sensory difficulties, Autism or Cognitive/Developmental difficulties. Some Airports are beginning to recognize the need for quiet spaces (Go Seattle!), while others barely mention anything (Looking at you, New York!). Europe is so far ahead of Sensory Accessibility in comparison to the United States, with full Sensory rooms at some airports and at minimal, full accessibility guides on their websites. In our Airport Accessibility Series, we will feature different airports and discuss their Sensory/Developmental accommodations, as well as link to all accessibility options at each airport. If you’re traveling soon and want us to feature an airport, or know of some cool accessible services, let us know in the comments below! For now, head to our
Airport Accessibility Guide for links and descriptions!
Disney Travel Hacks
Traveling can be hard, and traveling with sensory kiddos can be even harder! From our many trips to Disney we have compiled a few time and sanity-saving hacks that will help you focus on all the fun you can have at Disney, and save a few headaches!
1 Crowd Control – If you want to go during a less crowded time and aren’t planning around kiddo school vacations, here is a great Disneyland Crowd Calendar . The less crowded the park . is, the easier it is to navigate with your sensory kiddo. And never, ever go between Christmas and New Years if you have a kiddo that doesn’t like crowds. We gave it a try to see how bad it really was, and it was BAD. We love Disney, but do not recommend it for ASD/Sensory families from Dec 23 through January 2nd.
2. Accommodations – If affordable for your family, it is very magical to stay on property. While often the easiest way to book, you can often find discounts through Tripadvisor.com, with all the same perks! For more details on various options from least expensive to luxurious, check out our Disney Accommodations page! All Disney properties have accessible rooms, although there are not specific Autism-friendly rooms yet. If you are looking for a property that offers Autism Accessible rooms, check out one of Disney’s Neighbor hotels, the Sheraton Park and ask for the Max Service. This hotel is walking distance to Disney, and offers supplies such as weighted blankets and fidgets, as well as alarms on the room door if you have a kiddo who tends to elope. There is also a trolley that can take you to the park for $5.00
3. Book reservations for restaurants 60 days in advance. Its always nice to have one or two sit-down meals at Disney, especially with a Sensory kiddo. We find that being able to sit-down in air-conditioning full-service restaurant with quality food makes a huge difference – and it also allows us to get away with light meals and snacks (that we brought in the rest of that day!) Disneyland allows you to book reservations 60 days in advance – no sooner. If there is restaurant you want to book, put a note on your calendar 60 days out, jump online on the Disney app and make your reservation! We had always wanted to eat at the Blue Bayou restaurant (all those times going by at Pirates of the Caribbean!) and could never get in – until we followed this trick. You can view the menus online if you have a picky eater to make sure they like something on the menu. All restaurants have Gluten and Casein free options, so just ask for the allergy menu!
4. Check back on reservations you couldn’t get. If you forgot to go online 60 days out and you really want to check out a restaurant, keep checking back the week and up until the day of – people change their minds and will cancel their reservations since there is a fee associated with no-shows.
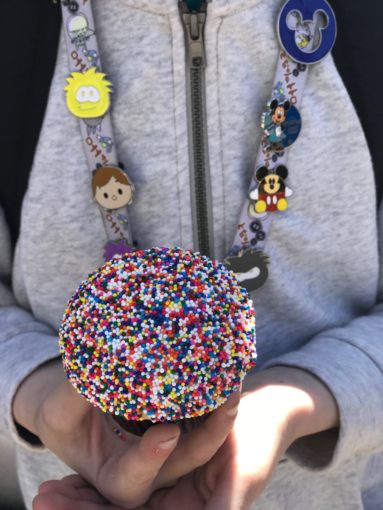
5. Disney Gift Cards – To save money on food and merch, buy Disney Gift Cards at Target for 5% off using your red card. But the best part for me is having a natural limit of spending for the kids. We usually give each kiddo a $50 gift card, and they can spend it as they wish for pins, souveniers, etc. When it’s gone its gone. This has been transformational ! No more “can I have this, I want that.” I simply remind them they can spend their gift card as they wish, and its amazing how careful they are when its their own money 🙂
We LOVE to pin trade, so this has really helped with the big desire to buy more pins! More on Disney Pin trading with nonverbal kiddos in an upcoming post!
6. Send yourself a box of supplies to the hotel. This has to be one of my favorite all time Disney Travel hacks. Since we only travel with carry-ons, I order out Disney essentials on Amazon and have them sent to the hotel. Free shipping! Here’s what I recommend:
- Snacks! Trail mix, granola bars, fruit leather, you get the picture. Pick some things your finicky kids will love so you can supplement the expensive but fun treats at the Park. This also helps avoid eating three full meals at the parks.
- Waterproof Ponchos – you can find inexpensive waterproof ponchos on Amazon for rides like Splash Mountain and the Rapids at Disney’s California Adventure. You’ll thank me later! They are also availabel at the park, but are a bit more expensive ($10-$15 each) although they are a bit thicker and will last longer.
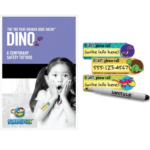
- Temporary Tattoos – if you are worried about losing your kiddo (it happens) or have a kiddo that tends to elope, these temporary phone number tattoos are fantastic!
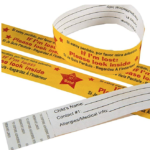
- Travel Bands – if you prefer more privacy, the Travel Bands are great – they are fairly innocuous on the outside, but tell the person to look on the inside of the band to get the personal info to contact you in case your child is lost.
- Blister Control – we have found these hydrogel pads to be the best for Blisters! Moleskin pads also work well.

- Sun Protection – We prefer Spray-on Sunscreen, which you can’t take on a plane, so have it shipped straight to you to avoid crazy Park prices!
- Sun After-care – Biofreeze is a wonderful, effective spray-on that takes away the pain of over-sun exposure! Its way too easy to get burned, especially in the summer
- Glow in the Dark Bracelets – Having these is super fun for the kids, and usually helps avoid the huge desire to buy those expensive and blinding flashing light up toys so popular at night in the Parks. Plus, it really makes it easy to find one another after dark
- Autograph books – If you are traveling with little ones or for the first time, most likely your kids will want Character Autographs. The Autograph books in the parks are expensive, so get yours ahead of time and have it waiting in your hotel room as a surprise for half- the cost
To access our recommended list, go to our Amazon Disney List
7. Deliver Groceries to yourself – If you want fresh fruit, yogurt, breakfast and drinks, a great option is to have it delivered to you at your hotel. Here are a few great things to order fresh:

- Fresh fruit
- Yogurt
- Bagel and cream cheese
- Drinks
- Water bottles to bring into the parkHere is a list of delivery Services,all deliver to Resort on property as well as neighboring hotels. Property hotels will accept your order for you and keep it refrigerated until you arrive!
- Disneyland Anaheim: Von’s InstaCart and AmazonFresh
DisneyWorld: Garden Grocer, InstaCart and Amazon Prime Now
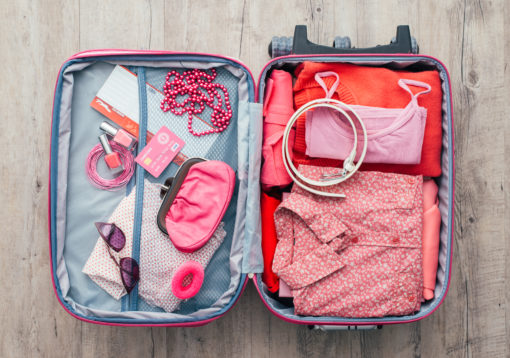
8. Pack well. We pack a carry-on small suitcase and a small backpack for each kiddo to carry by themselves. That way its not overwhelming when we have to take over! Check out our post on Packing tips!
Suitcase:
- Clothes for layering
- Light rain coat if needed
- Favorite sweatshirt for cool nights
- extra socks
- two pairs of walking shoes
Backpack:
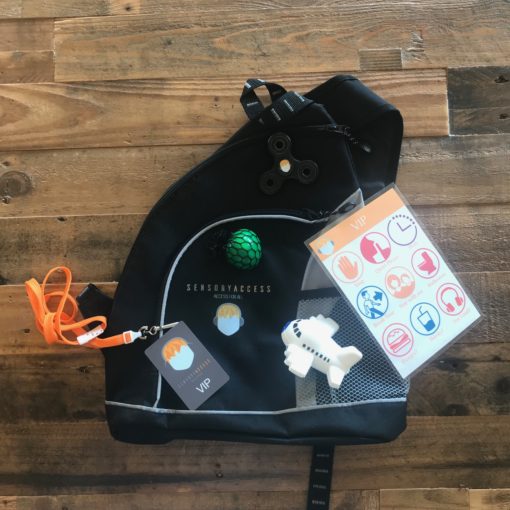
- Noise-reducing headphones
- hat with a brim
- sunglasses
- Fidgets
- Gum for flight
- activities for flight
- two favorite items
- snack
- visual schedule
- collapsible waterbottle
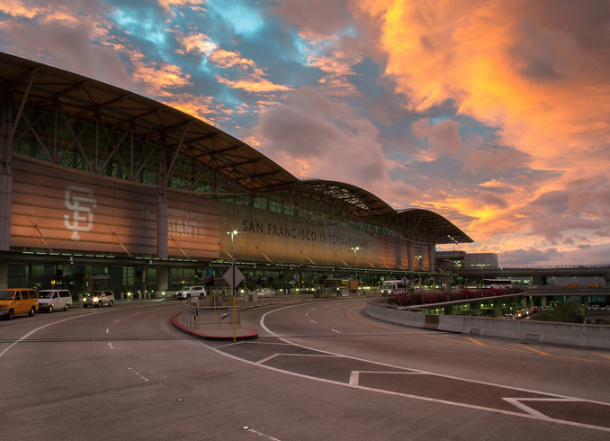
Accessibility at San Fransisco International Airport (SFO)
Sensory/Autism
SFO offers The MagnusCards mobile app, which provides guidance through the airport experience. There are digital “card decks” that provide social stories and instructions through each activity, such as security and boarding. The app is free to download.
General Accessibility:
SFO offers accommodations for those impacted by
-Mobility, Hearing and Visual disabilities. Click here for more information.
Getting Around
SFO offers an interactive map and a static map. There are five terminals; International Terminal A, Terminal 1, Terminal 2, Terminal 3, and International Terminal G.

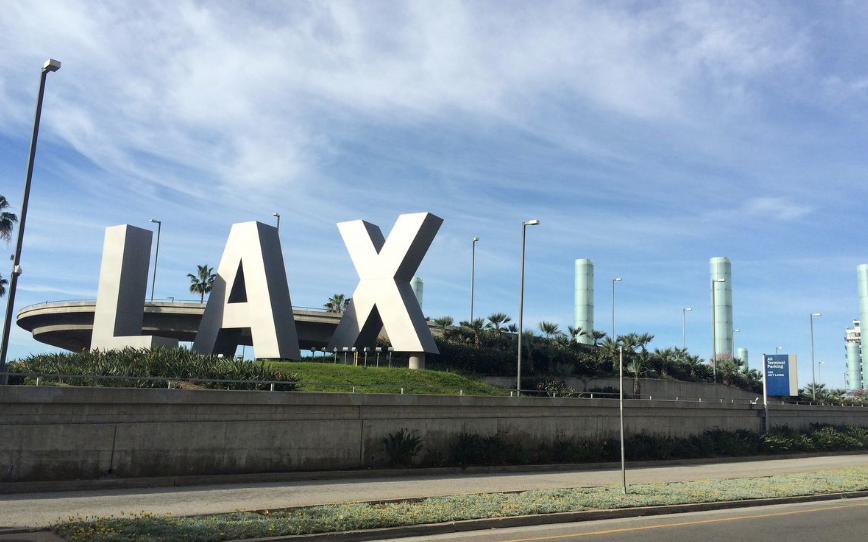
Accessibility at Los Angeles International Airport (LAX)
Sensory/Autism
LAX has a “preview of the airport program.” To access the program you must fill out a registration form. For all of the details, please follow the link: https://www.flylax.com/en/lax-americans-with-disability-act/ada-detail-page#Disability-Services-at-Airport
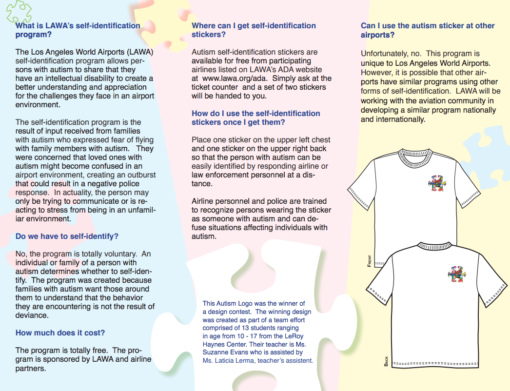
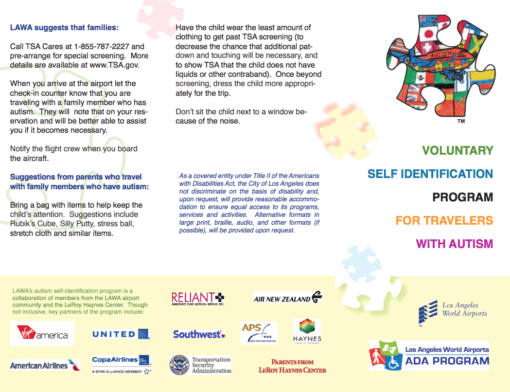
LAX also has a “Voluntary Self-Identification Program.” Families who would like to self-identify as traveling with an autistic family member can let someone at the Ticket Counter know, and they will be given Stickers they can use to identify that they may need extra help.
General Accessibility
LAX is fully accessible to mobility disabled passengers and wheelchairs may be taken to the gate and aircraft door.
LAX subscribes to AIRA, a service that connects blind and low-vision individuals to their surroundings at the airport. Aira delivers instant access to visual information at the touch of a button – enhancing everyday efficiency, engagement, and independence. For information on using this free app go to AIRA.OI.
Getting around the Airport
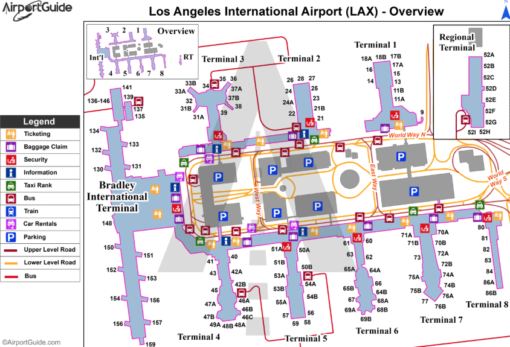
The airport has nine terminals. Terminals 5, 6, 7 and 8 are connected by tunnels airside in the secure area. No other terminals are connected to one another beyond security.
Terminal 1: Southwest Airlines
Terminal 2: Aeromexico, Aeromexico Connect, Air Canada, Air Canada Rouge, Air China, Avianca, Dynamic Airways, Hawaiian Airlines, Sun Country Airlines, Virgin Atlantic Airways, Volaris, WestJet
Terminal 3: Frontier Airlines, JetBlue Airways, Spirit Airlines, Virgin America
Tom Bradley International Terminal: Aeroflot, Air Berlin, Air France, Air New Zealand, Air Tahiti Nui, Alitalia, All Nippon Airways, Asiana Airlines, British Airways, Cathay Pacific, China Airlines, China Eastern Airlines, China Southern Airlines, El Al, Emirates, Ethiopian Airlines, Etihad Airways, EVA Air, Fiji Airways, Iberia, Japan Airlines, KLM, Korean Air, LAN Airlines, LAN Peru, Lufthansa, Norwegian Air Shuttle, Philippine Airlines, Qantas, Saudia, Singapore Airlines, Swiss International Air Lines, Thai Airways, Transaero Airlines, Turkish Airlines, Virgin Australia
Terminal 4: American Airlines, American Eagle
Terminal 5: Delta Air Lines, Delta Connection, Delta Shuttle
Terminal 6: Alaska Airlines, Copa Airlines, Delta Air Lines, Delta Connection, Delta Shuttle, Great Lakes Airlines, US Airways
Terminal 7: United Airlines, United Express
Terminal 8: United Airlines, United Express
Travel Tip #1 – Packing
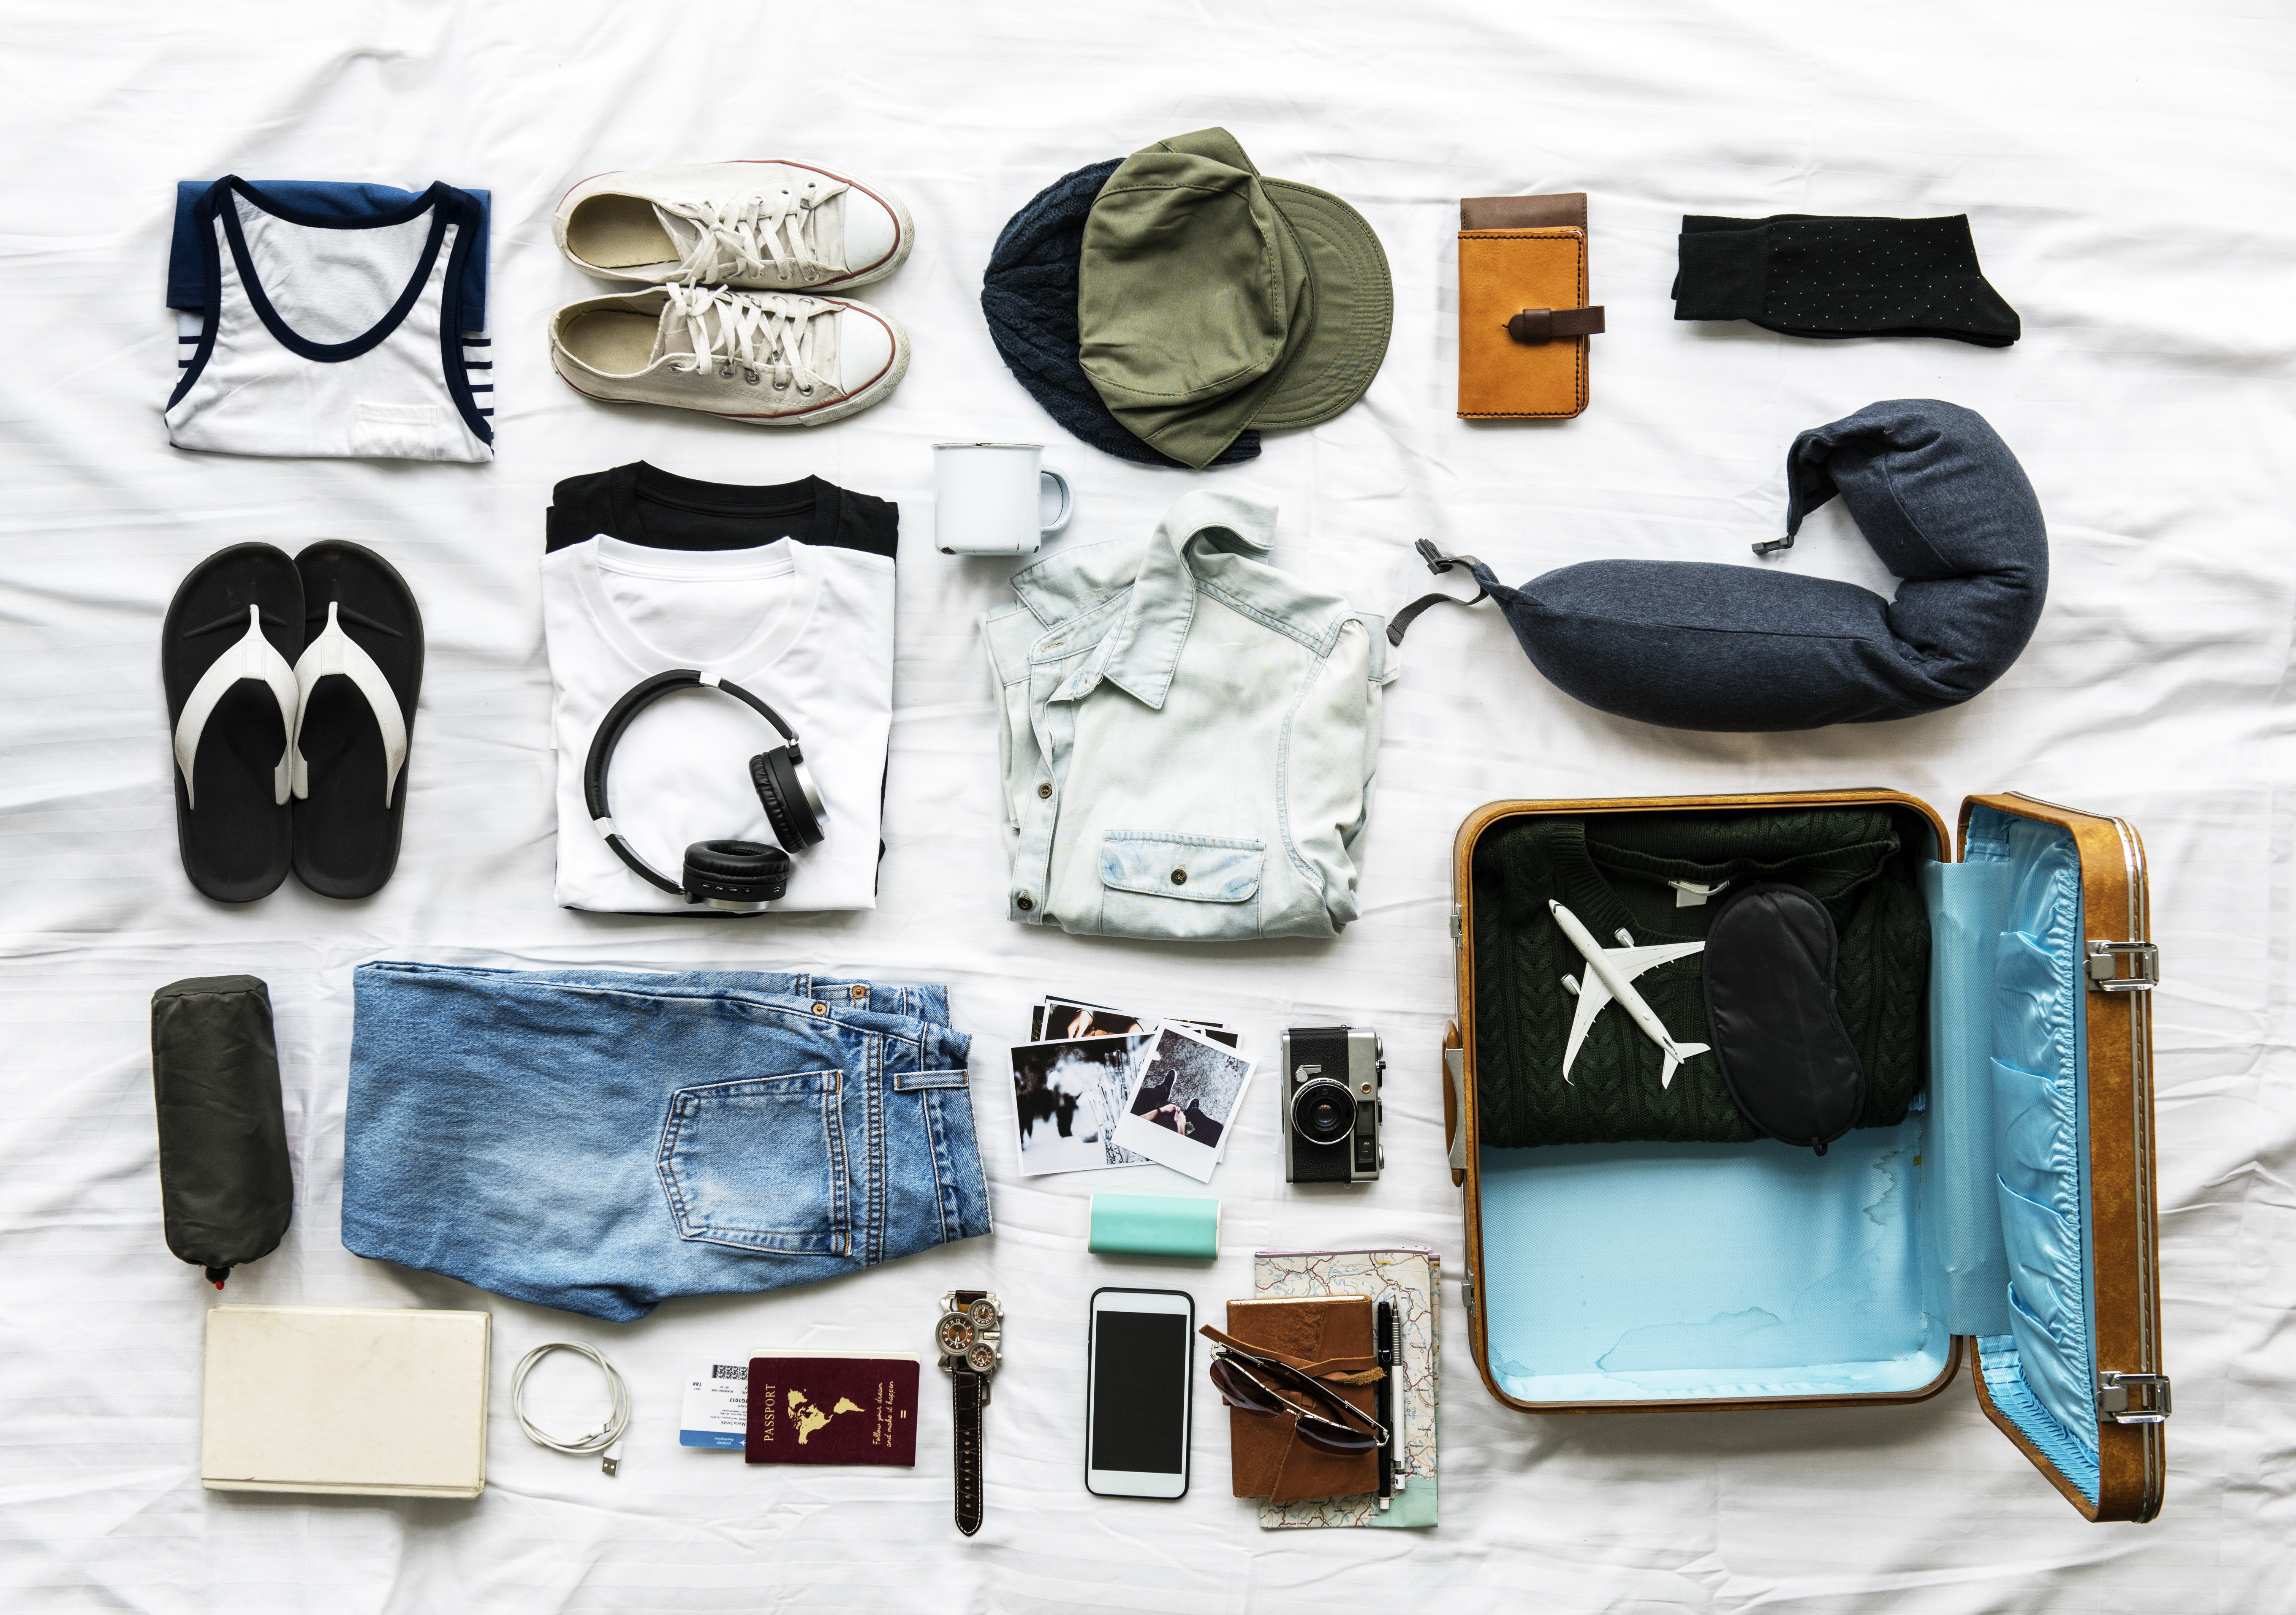
Its ALL about the preparation!! When I pack for a trip, I’m not only packing for me…I’m prep-packing for everyone! Sure, the kids can pack, but some oversight does help avoid troubles on the trip.
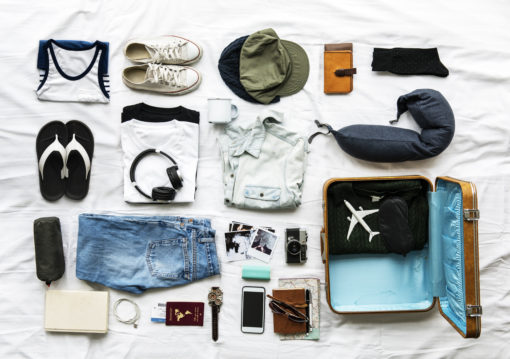
- Packing the suitcase/bag: Lay it ALL out. And I mean ALL. I’ve been on a trip and forgotten pajamas, and somehow, I often seem to forget socks. For me AND for my kids. So now, I lay out piles of like-items, such as a pile of shirts, a pile of shorts, a pile of socks, a dress or two, etc. Right by the suitcase, at least two days in advance. I do the same for my kids, because inevitably they’ll forget something and then we have to buy something once we are traveling. So, each kiddo gets their suitcase surrounded by their piles, and almost always someone says – “wait, I don’t have a swimsuit,” or, “Oh, I outgrew all my shorts!” Its way better to do that last trip to Target several days before, then the night of a trip. I mean, I LOVE Target – but I don’t need to see the Target in Florida or the department store in London. I try to have the kids involved in the actual packing of the suitcase. Showing them how to roll and fold, and letting them know what is going in so they can add things they want to take – especially important for those tactile-sensitive kiddos – don’t forget their favorite shirt/pants!! (For my kiddo, its a hoody sweatshirt. There must ALWAYS be a hoody. Sometimes, a specific hoody.) Even if you have a kiddo that cannot pack due to age or ability, having them next to you and using a visual schedule of packing, going to the airport, etc can help with the process of travel!
Make sure to leave room in each suitcase for souveniers. Or that hoody my kiddo will buy. - Packing the personal bag Each person should have a personal bag. Because if they don’t have a way to carry their stuff, YOU will end up carrying it! Personal bags can be small backpacks, tote bags, purses, etc. For ASD kiddos, it’s usually a small backpack with at least the following:
– Device: Phone, ipad, Kindle, tablet
– Sensory Toys: squishys, stuffies, fidgets, etc
– Headphones: either for music or the noise-reducing kind
– Visual Schedule if needed
– Visual Communication Card if helpful
– Gum: Critical for landing and take-off. Gummy candy can work in a pinch or if your kiddo doesn’t do gum
– An activity for when electronics are not allowed (book, activity book, coloring, game)
– Snack that your kiddo helped pick out (thank me later)
– Favorite shirt for layering (hoody, sweatshirt, etc)
-Anything else critical for your kiddo - Labeling Each family member gets a color to identify stuff on the trip. A ribbon on their suitcase to identify it on baggage claim, sharpy marker in that color on their device charger, ziploc back of snacks, you name it. Device chargers in particular are in high demand on any trip, and this helps avoid the “no, that’s MY charger!” argument.
- Your bag What do I put in my personal bag? Usually too much. Recently I made the mistake of choosing fashion over function, and I ended up having to get a more practical backpack once at the destination. Two days of carrying my cute but short-handled Tote around and I was in misery. Your personal bag will often double as the “everything we’re taking for the day” during each day of the trip, so if you’re going hiking/walking through the national parks this may be a different choice than if you’re going to NYC or the beach. A cute, versatile backpack usually does the trick.
-Earbuds (Although I love my noise-cancelling headphones, I have to be able to hear my kiddo on the plane, so earbuds work much better)
– Gum: for when your kids lose theirs
– Snack: because someone will run our of theirs
– Mini liquor bottles (just kidding, sort-of)
-Book you’ve been dying to read: Air travel is one of the few places where you actually have time to read for more than 3.2 minutes.
-Magazine – often easier to read in those 3.2 minutes of peace
-Wrap/big scarf/Pashmina: One, I always get cold on planes and two, one of my kids usually ends up being cold at some point. Although I tent to pack neutral colors when I travel, this usually has a pop of color !
-Phone, laptop, camera: I never pack my electronics in anything but my carry-on. I like having them with me in case my suitcase gets lost.
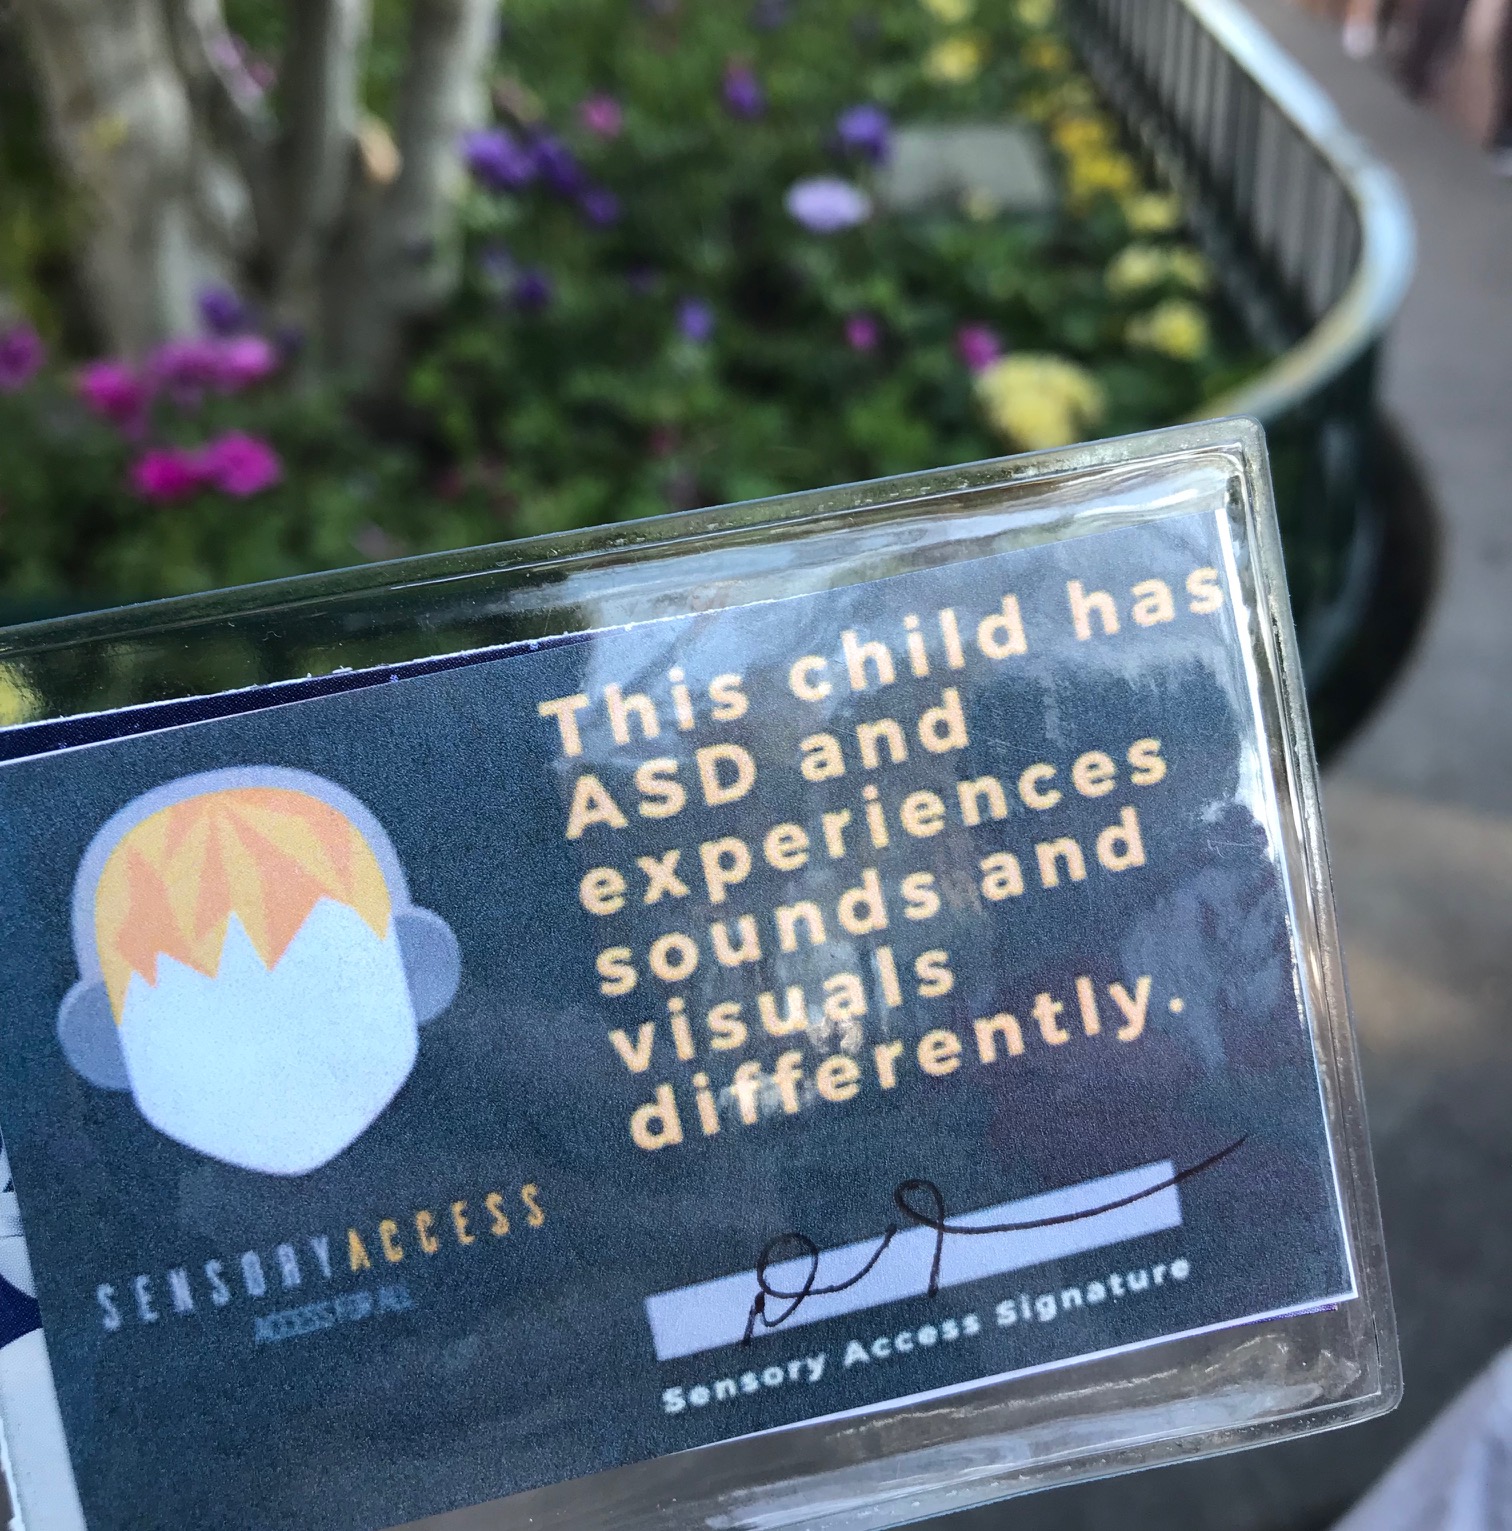
-ASD identifying Card (this is super helpful when you’re kiddo is having a rough time but you don’t want to say in front of them” My kid has autism!”…that tends to only exacerbate the issue. You can make one at home or get one in a kit, it’s a great way to let flight attendants and nearby passengers gain understanding of where your kiddo is coming form. We tend to use ours only if an issue comes up.What are your must-haves when you travel?
Road Trip Travel Tips!
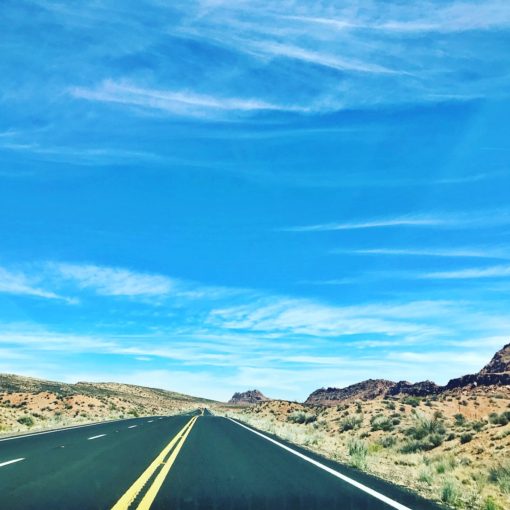
I swear, it IS possible to have fun on a road trip with kids. With sensory kids!
Our “Road Trip Travel Tip” series is going to include a whole bunch of easy-to-implement, helpful tips, tricks and tools for enjoying a road trip with kids, especially with kids that have some sensory difficulties. Let us know what you find helpful, and what you want more of!
One night in Tucson – Lodge on the Desert and Culinary Dropout
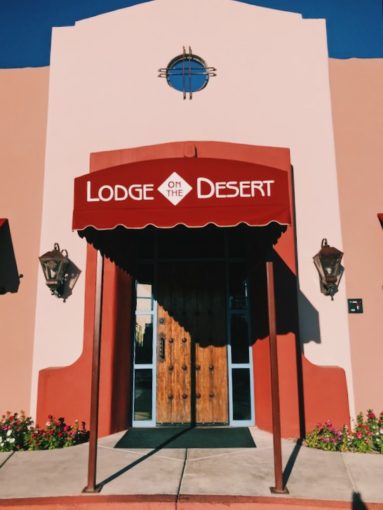
We recently got to pick up my daughter in Tucson, where she was studying space at Mt Lemmon Observatory through the University of Arizona. We flew into Phoenix to pick up our rental car, and quickly made it down to Tucson. There was a vast difference between the hustle of Phoenix and the smaller, college-town feeling of Tucson! Despite the 104 degree heat, Tucson’s dry climate was bearable – especially one could dive into a refreshing pool! We were utterly delighted with Lodge on the Desert, a affordable, lovely boutique hotel with a fantastic pool, great service and huge rooms. This was a very sensory-friendly hotel! It was quiet on the grounds and in the rooms. Our room reminded me of the well-known Mission Inn in Sonoma – at a fraction of the price! The pool had lovely waterfalls and the hot tub was just right for the weather. The sensory aspect of a pool is always awesome for spectrum kiddos, so it’s always nice to find a well maintained pool to provide relief from sensory-stress – and the heat! 

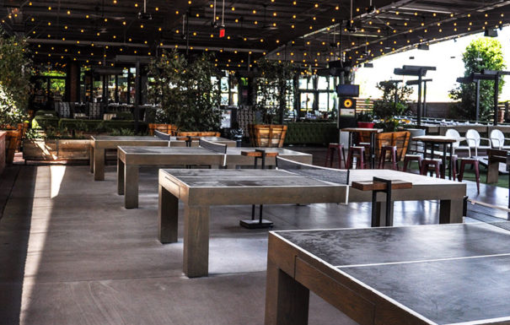
For dinner, we were referred to “Culinary Dropout” and we could not have ben more delighted! This large restaurant had a great menu for adults and picky kids alike – and the libations really hit the spot after traveling from Seattle-Phoenix-Tucson! For moms who need a yummy drink, the Jalapeno-Cilantro Margarita was incredible. Culinary Dropout has an indoor and “outdoor” section, the outdoor is all covered but is huge and airy. Seating can be at traditional tables, on couch/table combinations or in loungey areas, all within reach of wonderful fans and misters. While we waited for our meal, my son and I played several rounds of table tennis – a great way to let out some energy. While big, industrial type restaurants are often too noisy for those with sensory sensitivities (my son usually does not handle them well) this one somehow got it just right. Great food, great drinks and, wonderful overall experience.

The breakfast the next morning was included with our room, and was no ordinary “Continental Breakfast” – with a breakfast var that featured Chilaquies, pancakes, seasoned potatoes, eggs and more, there were lots of choices. For picker kiddos, there was cereal, and oatmeal bar and a yogurt parfait station.


If you find yourself in Tucson for a night or more, I highly recommend Lodge on the Desert and Culinary Dropout!
Autism Accessibility in Disneyland – the DAS pass
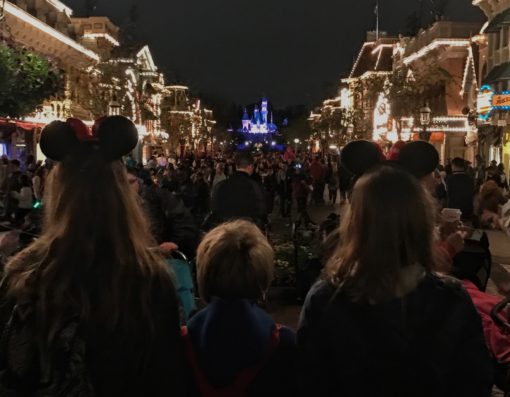
Disneyland is one of the most magical places in the US, the “happiest place in the world.” However, the noise level, crowding, flashing lights, bright sunlight and waiting in lines can get to everyone., but for those with sensory difficulties such as those on the Autism Spectrum/Autistics, this magical place often loses a lot of its magic. Disney has put a lot of supports in place over the last few years, and continues to work on providing sensory accommodations.
The first year our family went to Disney, we did not use a Disability Pass, and tried to brave the crowds to get as much of it in as we could. It was our very first time, and the kids went back and forth between excited and exhausted. My ASD son struggled a lot, and we found it necessary to take frequent breaks, leaving the park and going back to the hotel to reset – this meant losing out on the park quite a bit since we were not staying in the parks. Since that first time, we have visited the Park many times, and have learned a lot of wonderful tools and tricks to make a Disney trip super successful!
If you need information on how to get to Disneyland, check out out our Accessible Transportation to Disney post. Last time we discussed options on Where to Stay, so today we will dig in on What to do when you arrive in Disney!
First, we highly recommend buying tickets online ahead of time to avoid waiting in line to buy tickets. Buying tickets ahead of time allows you to simply get in the cue once you arrive.
The Disability Access Service (DAS)
If you or a family member has sensory/cognitive difficulties, you qualify for the Disability Access Service. Many individuals on the Autism Spectrum struggle with crowds, unexpected sounds/tactile sensations, complex sounds, inability to self-regulate temperature, etc. The DAS pass allows the disabled individual and up to five family members to access rides though means of a ‘virtual line.’ All you have to do is go up to any one of the seven Disability Access Kiosks throughout Disney and California Adventure, and ask the Cast Member (Disney Staff) for “Return Time.” You will be given a time when you can return to the desired ride, where you will without having to physically wait in line. You may not wait in more than one line at one time, just like a physical line. You can use this time to do other rides, rest, get something to eat or drink, etc. We take this opportunity to find shady spot and hydrate, eat a snack, or use the bathroom. Sitting down in the shade and just resting is SO HELPFUL! Sometimes it’s hard on the siblings who want to GO GO GO, but ultimately, everyone has a better time when we take rests and enjoy the park at a leisurely rate.
How to get the DAS
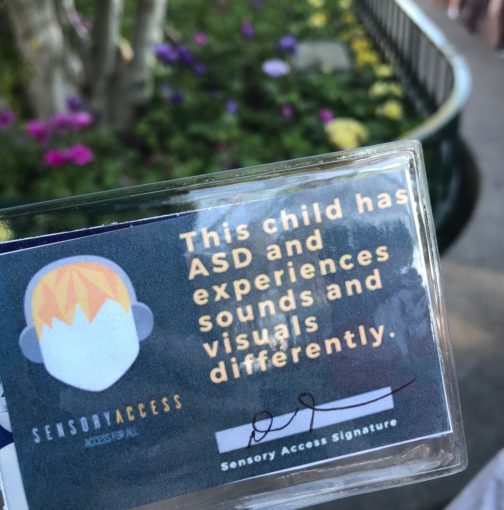
When you first arrive at the Park, head to Guest Services located inside City Hall. In Disneyland Anaheim, City Hall is located on the left side of the Park. After the turnstiles, take your photo with the classic Mickey Flower Face and then head left and go through the short tunnel, and stay left to head to City Hall. City Hall is where you can also get buttons and other things, so expect a short line. When you get in to City Hall, you will be asked by a Cast Member what difficulties you or your child may have, and how the Park can accommodate you. You do not have to show proof, as it is illegal in the United States due to ADA law to ask for proof of a disability. You can either ask directly for the DAS card and why you think it will eb helpful, or you can explain what you need to be able to experience the park fully, and the Cast Member will explain options. Usually if you let them know that you have an Autistic Family member with you, that is enough for them to offer the DAS card. We do travel with a letter of Diagnosis and this small Autism ID card just in case. If you would like an AUTISM ID Card from Sensory Access, head over to our Resources page! Although not necessary, we find the card useful on airplanes and in other situations when talking about the fact that my son is Autistic may frustrate him. Usually I will show the card to the flight attendants as I enter a plane. We tuck this card in with our Disney ticket and DAS pass in a pouch on a lanyard. The Cast Member will ask to take a photo of the individual who has the Disability, so be sure to prep the individual that there photo will be taken. My son does not like having his photo taken, but the Cast Member was very nice and it went quite smoothly. There is an option to have the Guardians photo taken instead. The Cast member then scans the ticket of the Disability holder as well as the members of their party. You will then be given the DAS pass, which you will want to keep on you.
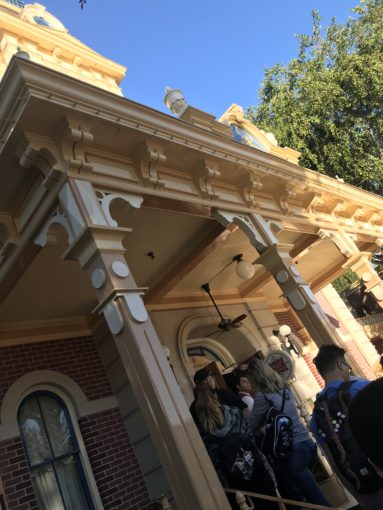
You can choose your first Return time immediately at City Hall for any ride in Disneyland or California Adventure (if you have Park Hopper tickets). The Individual that has the Disability Pass MUST ride the ride, and must scan their ticket in first before the other members of the party. When you get to the ride, simply tell the Cast Member that you have a return time and they will instruct you whether to get in the Fast Pass Lane or a different entrance.
The use of the DAS was a complete GAME CHANGER for our family, and all of the families that we at Sensory Access have helped over the years. It really allows you to take your time and take the much needed Sensory breaks to avoid as much of the over-stimulation at Disney as possible. It allows the individual to be more in control of how much sensory information they take in, allowing them to enjoy the park.
Can you still use a Fastpass if you have a DAS?
Absolutely! You can use FASTPASS, MaxPass and Rider Switch. You can acquire FASTPASS to shorten your wait for rides that offer FASTPASS service. If you have a non-rider who needs supervision (including a small child who is not riding, a person with disabilities who is not riding or a service dog), ask at the ride entrance about Rider Switch. One person can supervise the guest while the rest of the party rides. Then you can swap out the sitter with the Rider Switch pass so they can skip the line once the rest of the party has exited the ride. Some rides, such as Space Mountain, provide cages for service animals. A Cast Member will scan the park tickets for the supervising party so that they can receive a return time without having to wait in line.
How does MaxPass work with DAS?
MaxPass is a paid option ($15 per person, per day) for making and managing FASTPASS reservations through the Disneyland app. In Disneyland, you obtain FASTPASSES by going to Kiosks near the ride of the FASTPASS, like Peter Pan, Space Mountain, Mine Train, etc. A purchased MaxPass allows you to avoid the FASTPASS kiosks and simply order your FASTPASS on the Disney App on your phone. Both the DAS times and the FASTPASS times show up on the app, which made it very helpful in remembering where to go when to maximize time and rest periods. You can only use on DAS time at a time, but usually several FASTPASSES, so you will likely be able to have several of these cued up at once. If you have more questions on the MaxPass, the folks over at UnderCover tourist have a great MaxPass Primer! They are great for discounts as well.
We hope you found this helpful! Be sure to check out our other Disney Accessibility Series posts!
Getting to Disney
Sensory Accessible Transportation to Disneyland Anaheim
There are many ways to get to Disneyland, and your goal will be to get to close as Anaheim, California as possible. There are two airports you can fly into, LAX and John Wayne. Although John Wayne is a bit closer, I find that from where we are traveling (Seattle), it is usually less expensive to fly into LAX, even considering the ground transportation cost once we arrive. When choosing airfare, see which one makes the most sense for your family. Rideshares tend to be the most economical, and private, way to get to Disney from the Airport. If you have or are traveling with someone with Sensory Difficulties, an Uber or Lyft is likely a better choice than the Shuttle. Smaller kids who need car seats will do better in the Disney Express. If you have additional accessibility needs, please visit each transportation site directly (links below).
Los Angeles International Airport (45 minutes from Disney)
The following includes information from the Disneyland website:
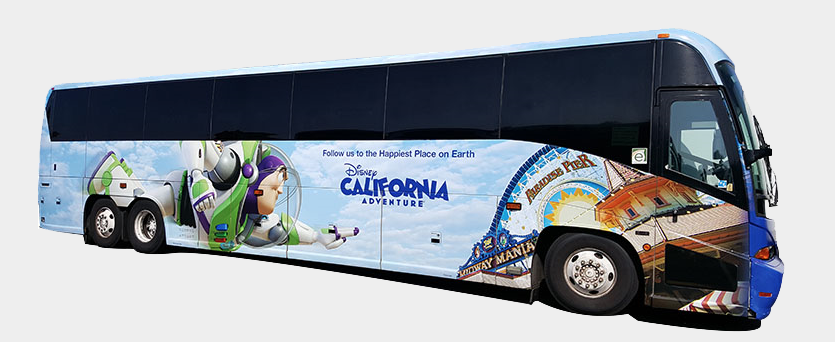
Disneyland Resort Express
The Disneyland Resort Express provides the most convenient mode of transportation between LAX and the Disneyland Resort area—including both Disneyland Resort and Anaheim Resort hotels. Upon exiting the baggage claim area at LAX, proceed to the center island. You may board the Disneyland Resort Express underneath the green sign in front of each terminal. Buses depart frequently, beginning at Terminal #1. Reservations are not required, but there is a fee to ride. RT $48 for adult, $14 per child under 11, kids under 2 on lap are free.
Metro (Bus and Rail)
The Los Angeles Metro consists of a network of interlinked bus routes and rail lines. After exiting the baggage claim area, wait under the LAX Shuttle & Airline Connections sign on the Lower/Arrival Level islands in front of each terminal.
-Ride the bus/shuttle marked “G” to the Aviation Station and proceed to the west end of the platform.
-Board the Metro Rail Green Line headed east toward Norwalk.
-Once you arrive at the Norwalk Station, board the Metro Express Line 460 bus headed to the Disneyland Resort.
Shuttles
There are a number of shared-ride shuttles and limousines available to take you directly to the Disneyland Resort. Shared Ride vans like Supershuttle.com, Primetimeshuttle.com or Shuttle2LAX.com
These can be anywhere form $25 from shared vans to $100 for private SUV’s
It’s best to arrange your transportation prior to arriving at the airport.
- Limousines may charge a flat rate that is sometimes close to the rate charged by a taxi service $100 approximately
- Vans pick up passengers on the Lower/Arrival Level islands in front of each terminal under the orange sign marked “Shared Ride Vans.”
Rideshares
After getting off the flight, follow signs that read, “TNC / Rideshares” or “Ride Service Pickup”. There are different pick-up stations for each terminal in the airport. Make sure you indicate in your app which pickup station you are located at, so your driver can find you. $40-$60 to Disney


John Wayne (20 Minutes from Disney)
All ground transportation pick-up locations are situated in the Ground Transportation Center (GTC) within easy walking distance from the baggage claim area. The GTC is located on the Arrival (Lower) Level in the center of the East Parking Structure and can be reached via the Thomas F. Riley Terminal by crossing the airport roadway at the traffic light near the John Wayne Statue.
Disneyland Resort Express
The Disneyland Resort Express provides the most convenient mode of transportation between John Wayne Airport and the Disneyland Resort area, including Disneyland Resort and Anaheim Resort hotels. Upon exiting baggage claim, proceed to the GTC. The Disneyland Resort Express picks up Guests in front of the ticket booth located to the left on a regular basis. Reservations are not required, but there is a fee to ride. RT $35 for adults, $11 for children 11 and under, children 2 on lap are free.
Orange County Transit Authority (OCTA)
The OCTA operates a network of interlinked bus routes that service Orange County and connect to other public transportation options.
- Upon exiting baggage claim, take Airport Way to the Airport-Arrival Terminal in Santa Ana.
- Take Bus Route 76 West to the MacArthur-Harbor Blvd. stop.
- Walk to Harbor Blvd. and turn left. Continue until you reach the Harbor-MacArthur Blvd. stop.
- Board Bus Route 43 North and exit at Harbor-East Shuttle Area in Anaheim. The Disneyland Resort is approximately a 2-minute walk from this stop.
Rideshares
After getting off a flight, follow the signs to “Ground Transportation” and “Baggage Claim.” When ready, walk outside and look for “Passenger Pickups” or the designated area labeled, “TNC/Rideshares.” $15-$25 to Disney
